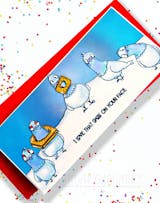
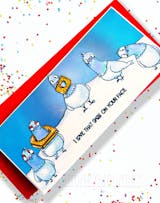
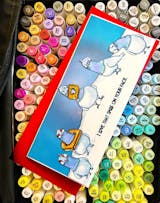
Tha stamps make great impressions. The dies cut cleanly and are easy to line up. I got great results and my cards turned out very cute.
Super cute stamps!
US Orders over $50 ship for free!
␡May 29, 2024
Hello.
Maria Petkash here (IG@mkpetkash) and I am thrilled to be sharing my first card as a Guest Designer for Gerda Steiner Designs.
My card features one of the adorable stamps in the “Cupcake Mice” stamp set.
To create this card, I started with an A2 size card panel cut from 80 LB Neenah Smooth Solar White Classic Crest Cardstock.
I stamped the birthday mouse with Simon Says Stamp Intense Black ink in the lower right side of the card panel and colored it with Copic Markers and Prismacolor pencils:
Mouse Body:
-W2
-W1
-W0 markers
Warm Grey 30% (PC1052) and
Warm Grey 20%
(PC1051) pencils
Nose, tail and inner ears: E93, YR82, shaded with Deco Peach (PC1013)
Remaining portions of the images were colored with markers only:
Party Hat: R17, R14, R12, Y19, Y18, Y15
Cupcake Wrapper: R17, R14, R12, R29
Frosting and Cake: BG15, BG13, BG11, YR31, YR30, YR21
Ground: E51, E41, E31
The sentiment was stamped to the left of the hat with VersaFine Onyx Black Ink.
I used the A2 Lacy Layers Die set from Waffle Flower to cut out the cardstock layers.
I adhered the blue and white pieces to a piece of copy paper cut down smaller than the blue
frame and used foam tape to adhere the entire piece to the black cardstock background.
Finally, I added three red clay hearts around the mouse to finish off my card.
Thanks for stopping by!
Maria
Comments will be approved before showing up.
Tha stamps make great impressions. The dies cut cleanly and are easy to line up. I got great results and my cards turned out very cute.
Super cute stamps!